Author’s Note: This tutorial was published in 2019. Since then, iCalendar Availability Pro has been upgraded to a new plugin WP Simple Booking Calendar. If you purchased the PRO version, contact WP Simple Booking Calendar. They were very helpful and offered me a discount code for the first year. This is a recurring $29/year charge. I will be updating this tutorial to include using the updated plugin soon.
If you have a website that needs a calendar that shows availability on your website (like the one below from one of my vacation rental clients), here is a tutorial that installs a plugin called iCal Availability* on your WordPress website.
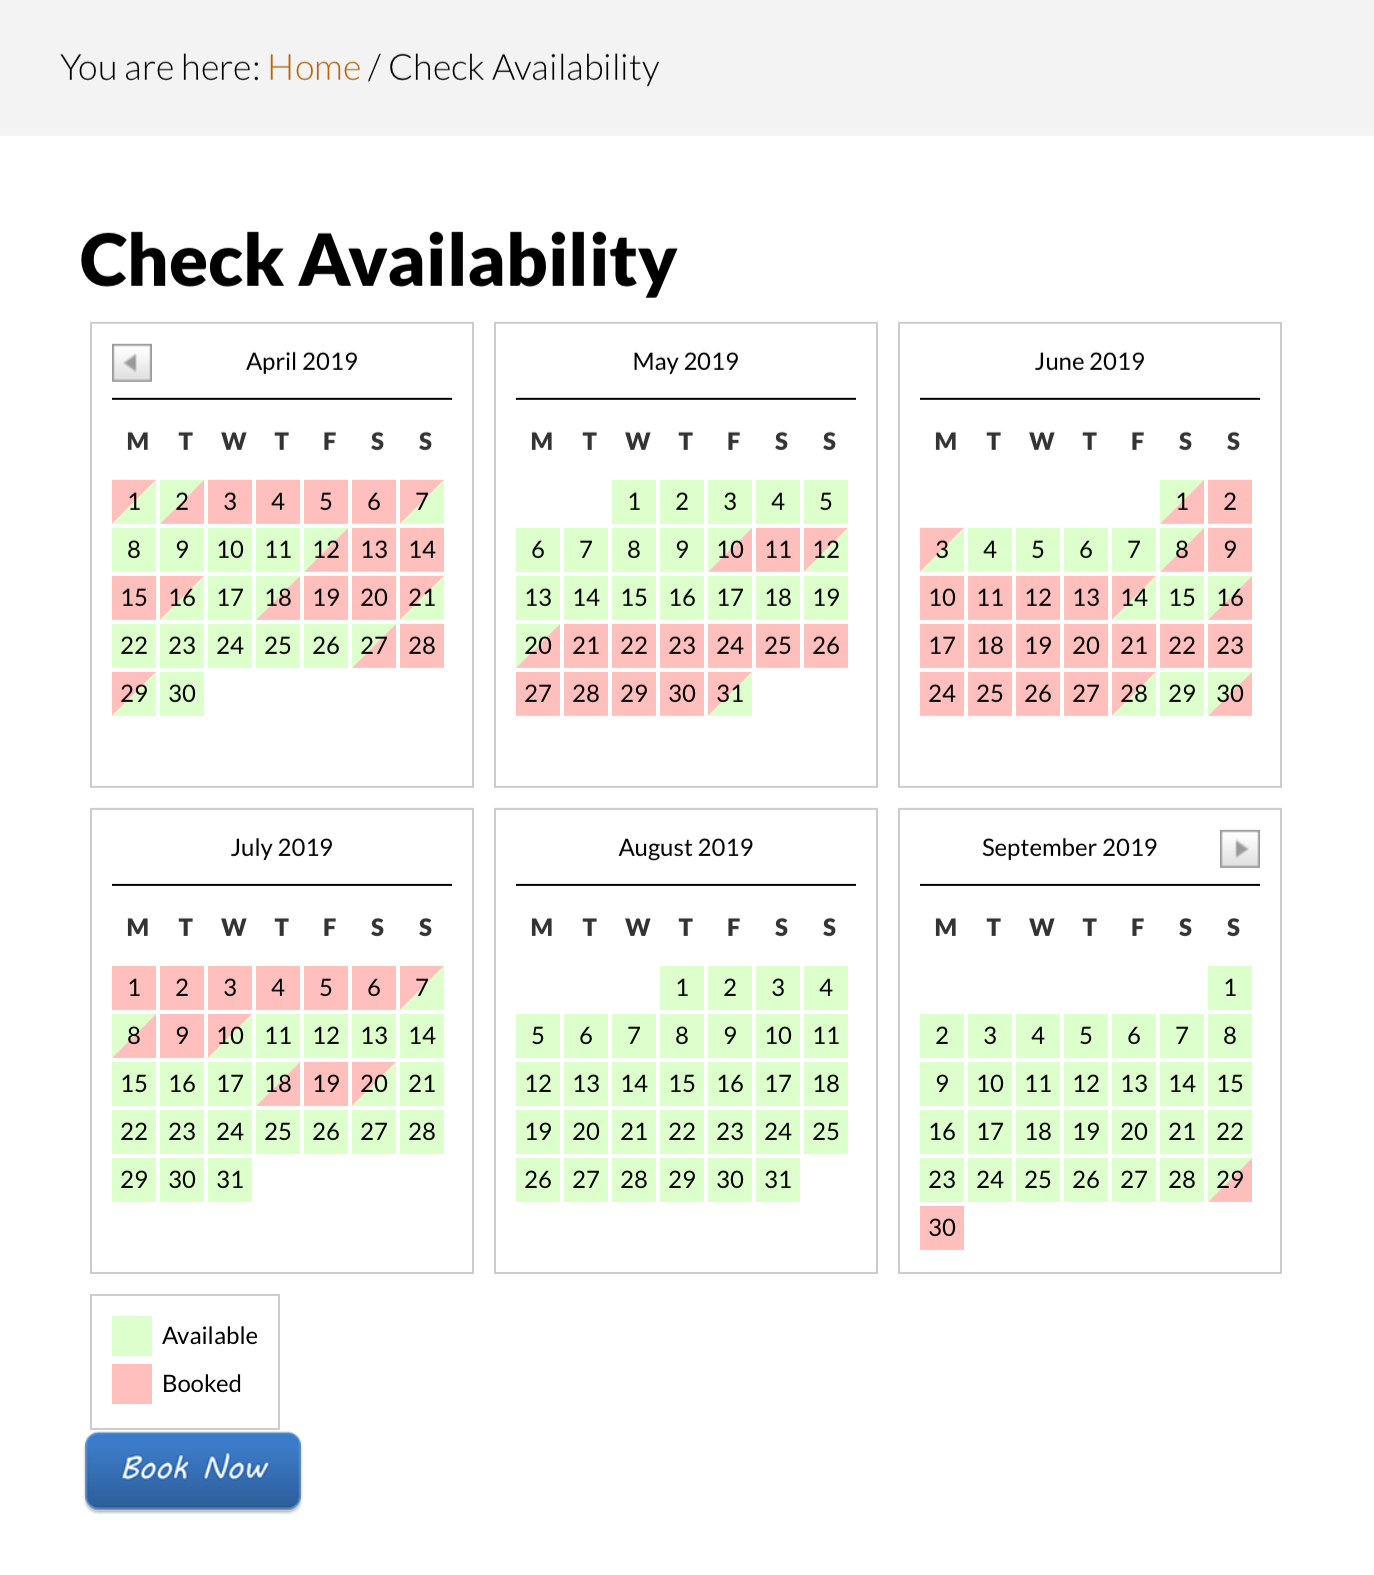
Follow the steps below to install it on your website.
Install the Plugin
First, from your dashboard, find Plugins:
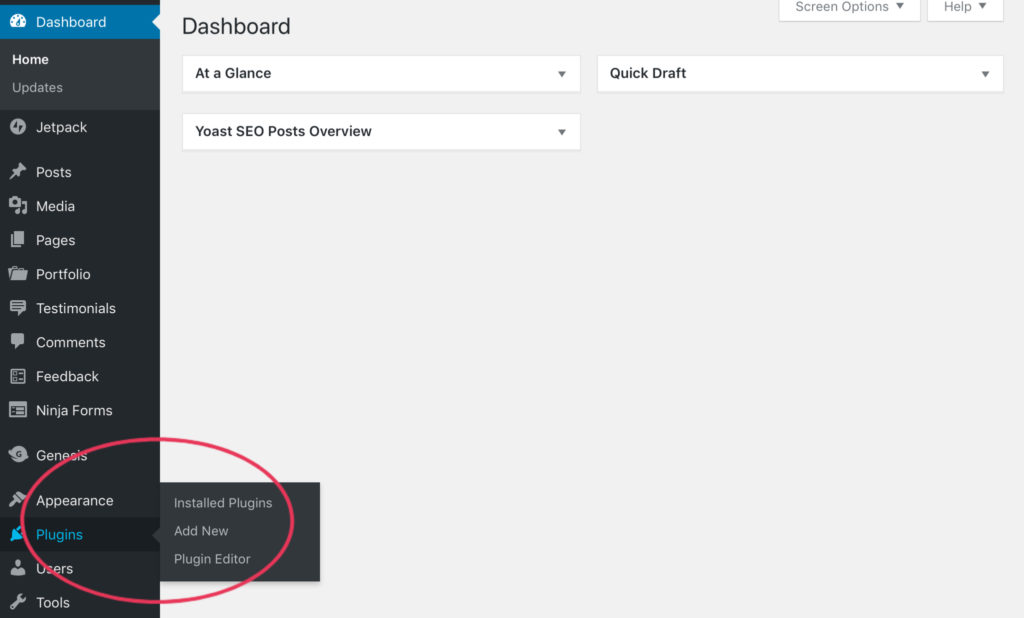
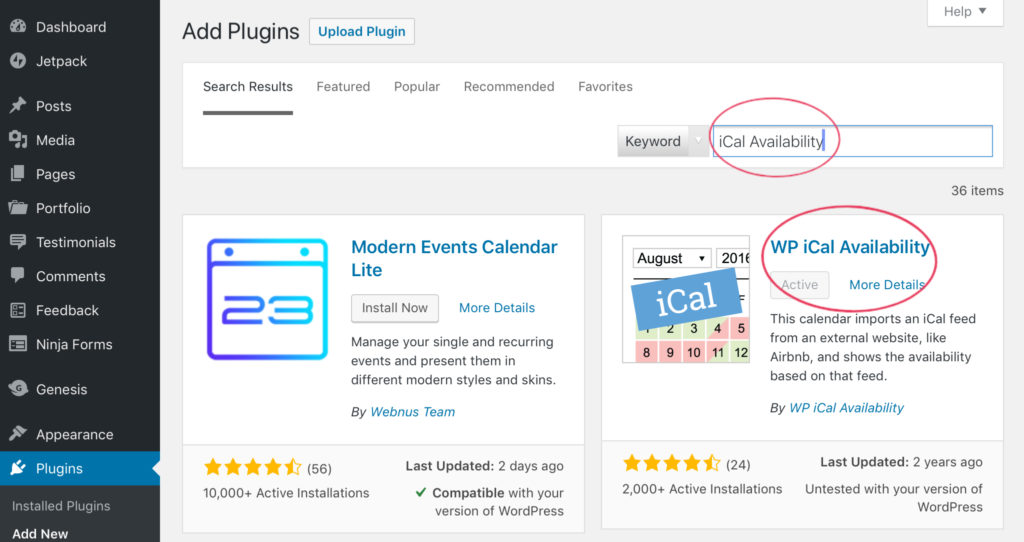
Then, click on “Add New”. Type in the Keyword “iCal Availability”. Next, locate the Plugin called “WP iCal Availability” and click “Install Now”.
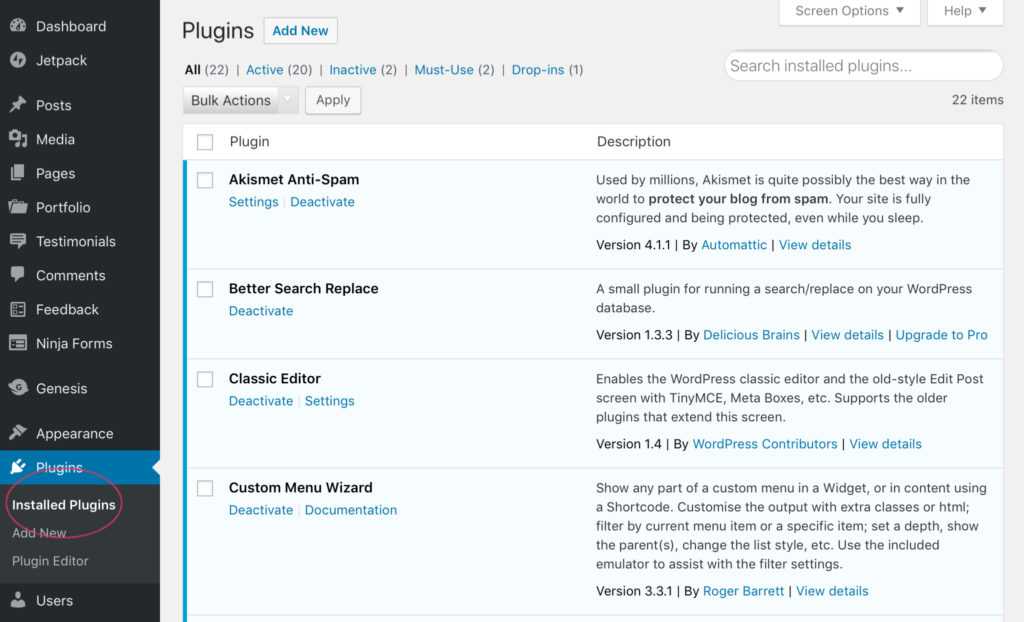
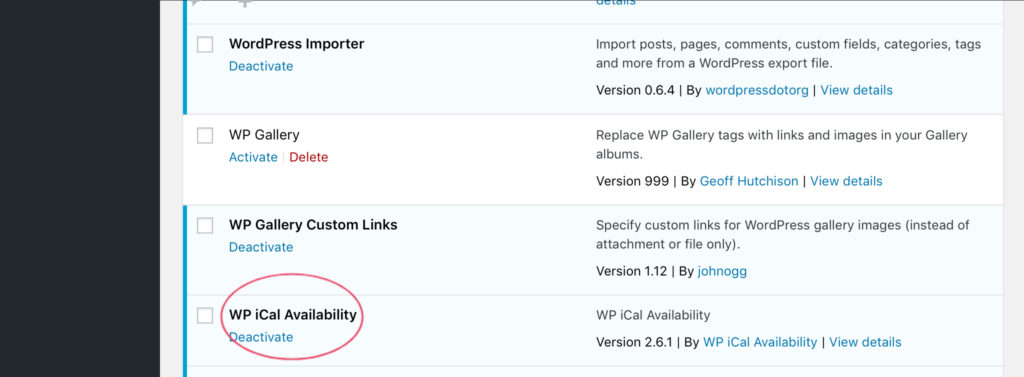
When you’ve installed it, you’ll need to activate the plugin. Then click on “Installed Plugins”. Look for WP iCal Availability, and click “Activate”.
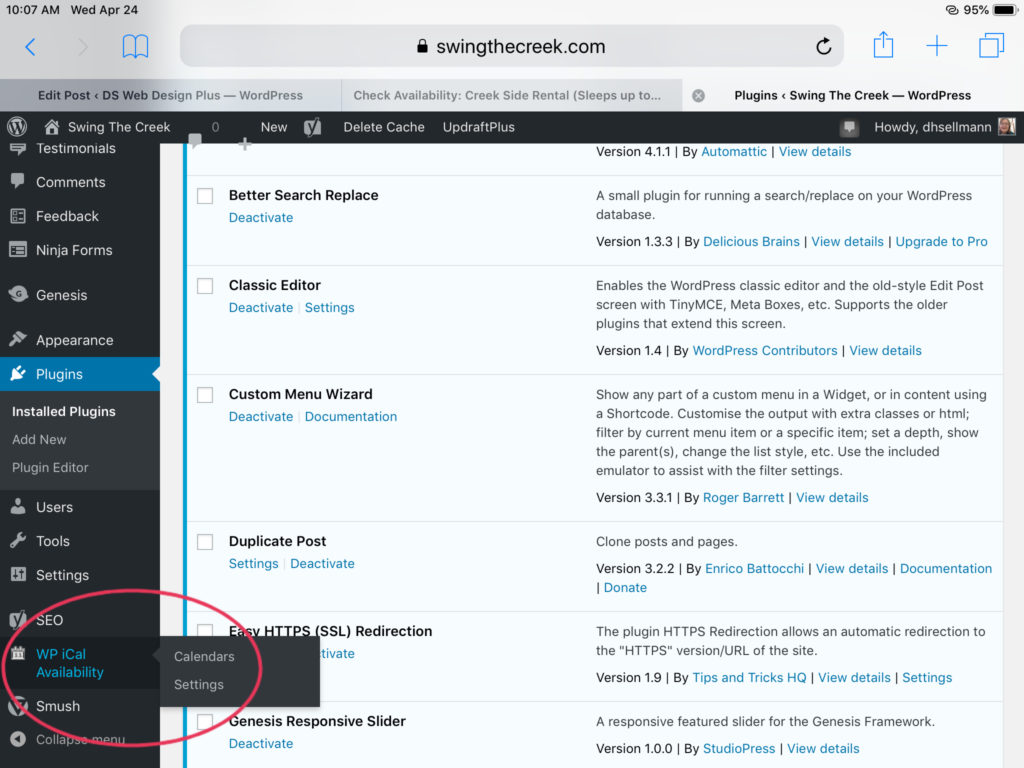
Once you have activated WP iCal Availability, you will have a new menu item on the left side of your dashboard. Now you want to click on “WP iCal Availability” and then “Calendars”.
You will want to “Add New”. Make sure you make a note of the ID number of the calendar you create (in the one below the ID is “4”).

Give your calendar a title (in the example below, I have already added a calendar – yours will be blank before you type in the “iCalendar Feed” information).
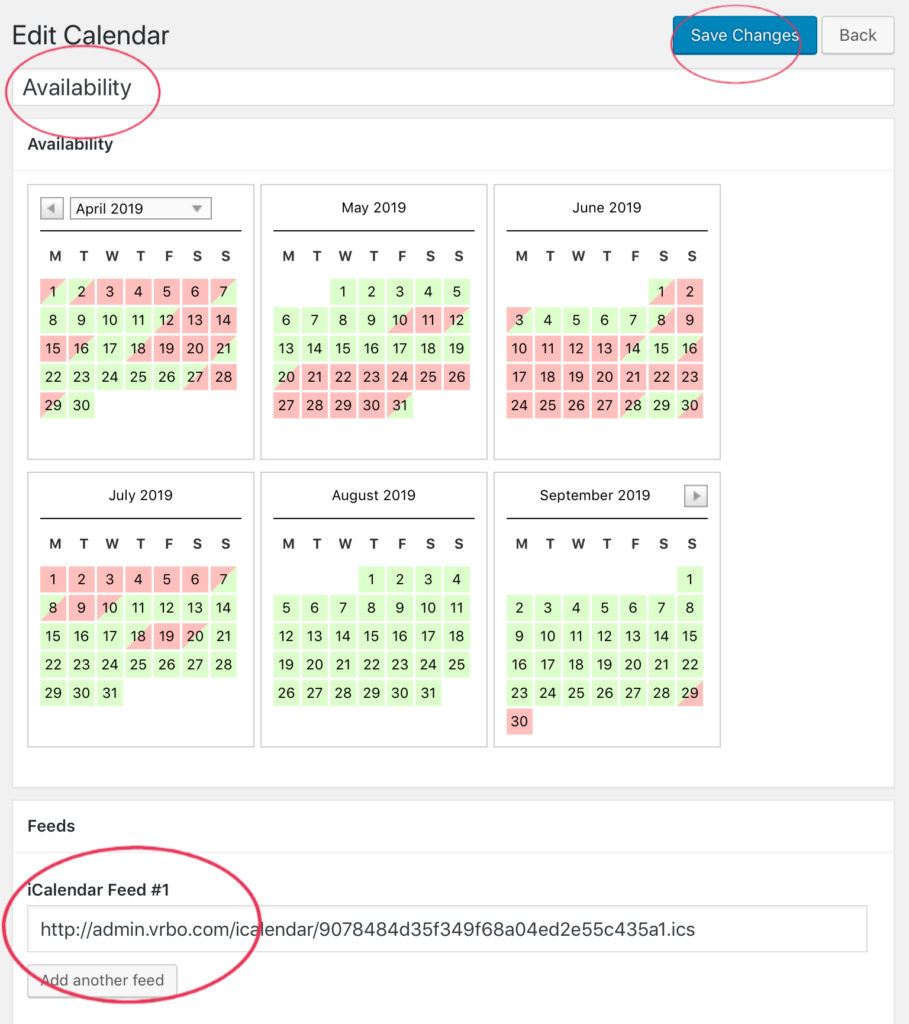
Next, insert your ics feed information. For information about how to get your iCalendar Feed check out:
VRBO: if you have listing on VRBO, and want to link to your booking calendar from VRBO
Google Calendar: if you have a google calendar you want to link to your website
If you have a different provider for the calendar you wish to link, you may have to do some additional research with that provider to find out your ical feed link.
Adding a Calendar to a Page or Post
Next, you’ll need to add a “shortcode” to the post or page where you would like to add your calendar. Here is the shortcode:
[wpia id=”4″ title=”no” legend=”yes” dropdown=”no” start=”1″ display=”6″ language=”auto” month=”0″ year=”0″ history=”1″ jump=”no” weeknumbers=”no”]
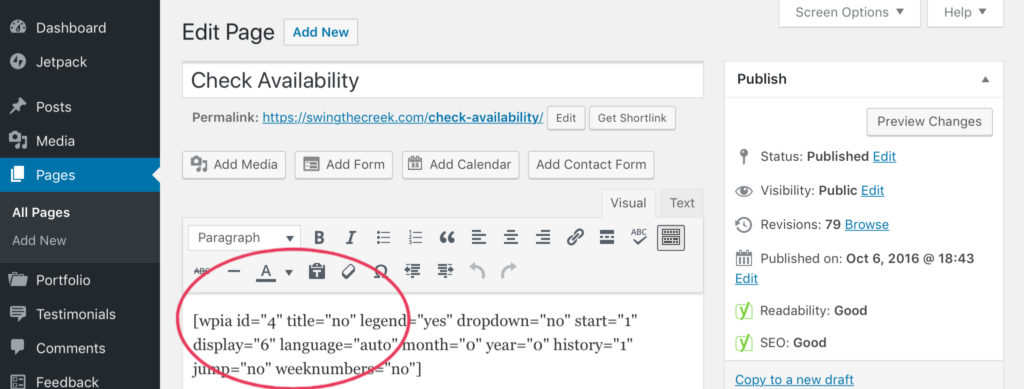
Here is what each of the items in the shortcode stands for:
- id=“4” – This is where you want to insert the ID of your calendar you created.
- title=“No” – Do you want to show the Calendar Title? If you already have a title for the page or post you have created, then probably your answer would be “no”.
- legend=“Yes” – The legend explains the colors on your calendar. This is a very helpful option. Usually you’ll want to have one on your displayed calendar.
- dropdown=”no” – This allows a drop down option to your calendar. I have not used this in the calendar example.
- start=”1″ – This lets the calendar start with the current month.
- display=”6″ – This is the number of months you wish to display.
- language=”auto” – This is to display in English language
- These next codes, use the following: month=”0″ year=”0″ history=”1″ jump=”no” weeknumbers=”no”
A couple of notes about iCalendar Availability*
Lastly, if you’ve read my tutorial on plugins, you will remember that I tell you to check these things on plugins before you download them to your website: when it was last updated, how many stars it has, how many users it has, and whether it works with your current version of WordPress. This plugin has not been updated recently, and hasn’t been tested with the latest version of WordPress.
So why recommend it to you? I searched through available calendar plugins and they were either:
- too expensive (a monthly fee, instead of a one time purchase) or too complex for what I needed it to do;
- the coding does not work with a Secure Socket Layer (which Google recommends as a best practice if you want your website to be trusted and ranked well);
- the free version of iCalendar Availability works well with the current version of WordPress (as of April, 2019).
Why I purchased the Pro Version
Finally, the free version works fine if you just want to display one month. The Pro version ($29) allows you to show more months (like the demo I show above).
*This plugin has updated to a new name and plugin. The free version is still available and works with WordPress sites up to version 5.7.1.

